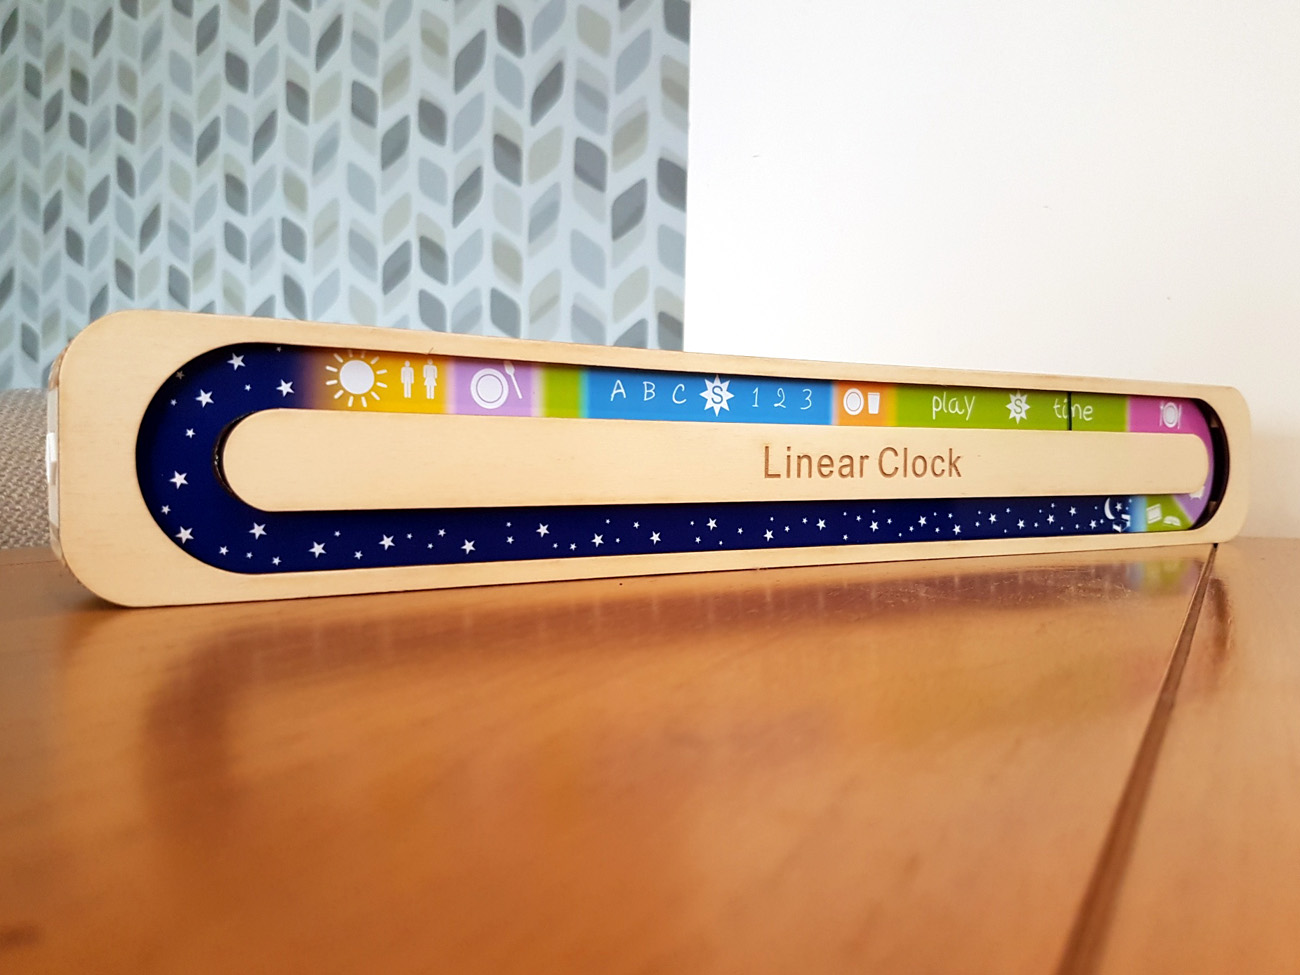
Young children (my kids), take some time (no pun) to learn time and at what point in the day they are. I always demonstrate when an event will happen using the 'here is the start', 'here is the end' and 'this is where' we are method. They seem to understand this, so I thought I would design & make a day clock that shows key points in the day. It is a pretty cool way of telling the time for adults too!
I started with looking at the easiest way of making the time mechanism. I looked at using an RTC (Real Time Clock), but this would require some encoding of where the mechanical marker was. This seemed like overkill for such a simple clock. I decided to use a belt driven by a small geared stepper motor. The theory is that the stepper has a number of steps to do a full rotation. So assemble a belt drive, work out how many steps to do a full loop and divide by 1400 (Minutes in the day). Turns out it is 31680 / 1400 / 60 = 22 steps for each minute. The MCU simply counts each second, and when it hits the minute - asks the stepper to move 22 steps. This nudges the marker along the timeline. There will be drift as this is not exactly the most robust time circuit, so I added 2 buttons for nudging forward or backward each minute.
The whole construction is laser cut MDF and Plywood, with a few minor 3D printed parts. Time legend is inkjet printed and the belt drive came from a recycled printer. MCU is arduino based with simple stepper driver.
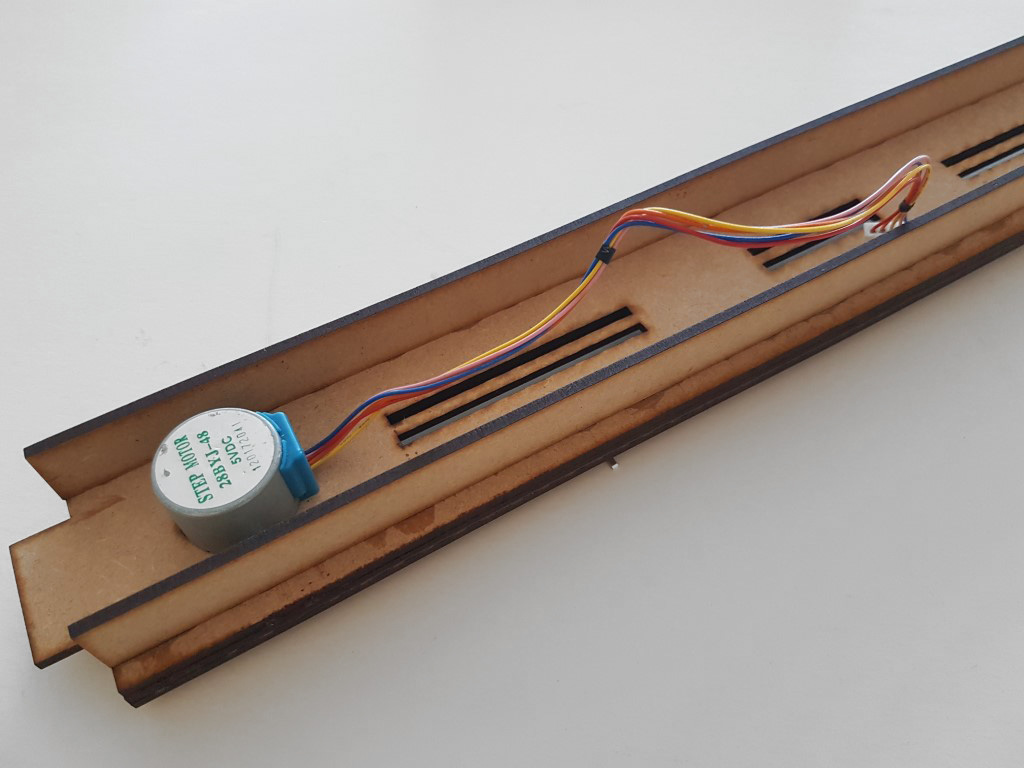
Stepper motor.
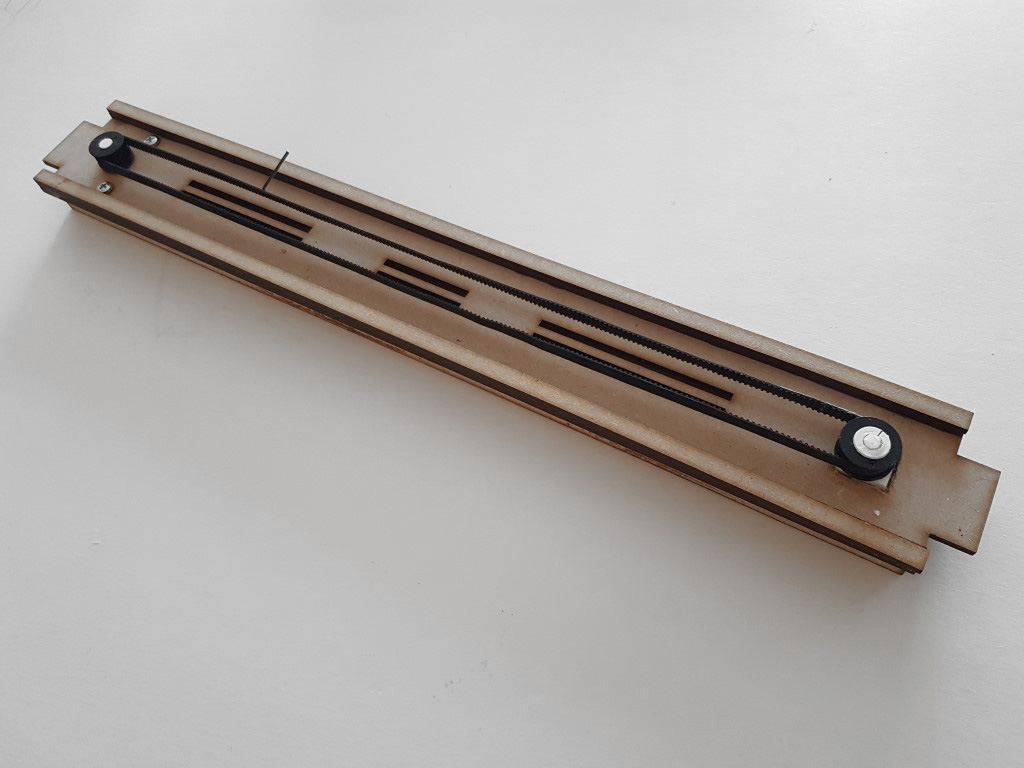
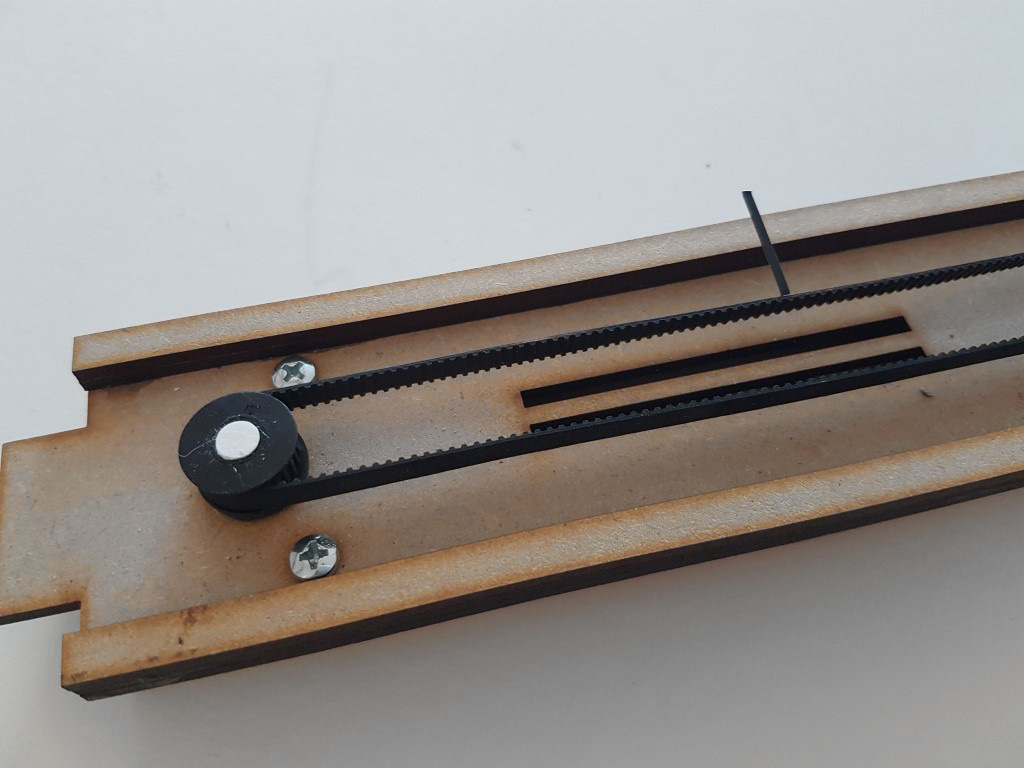
Belt drive system.
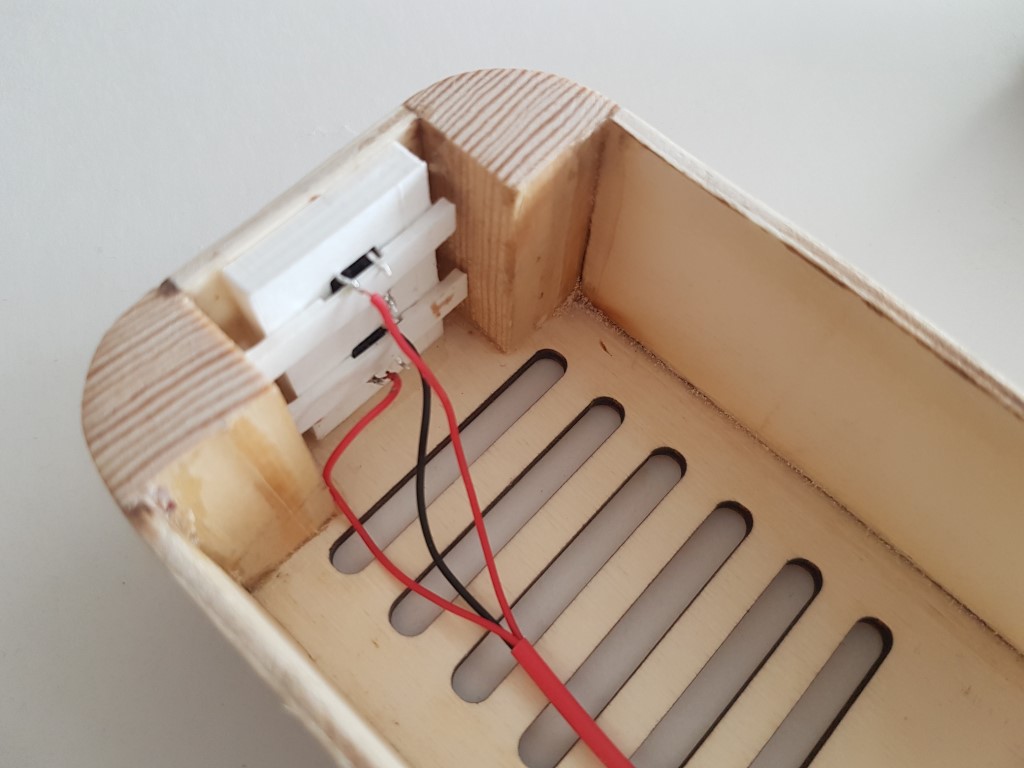
Close up of the marker, which is a piece of bent alloy.

Drive unit complete with legend.
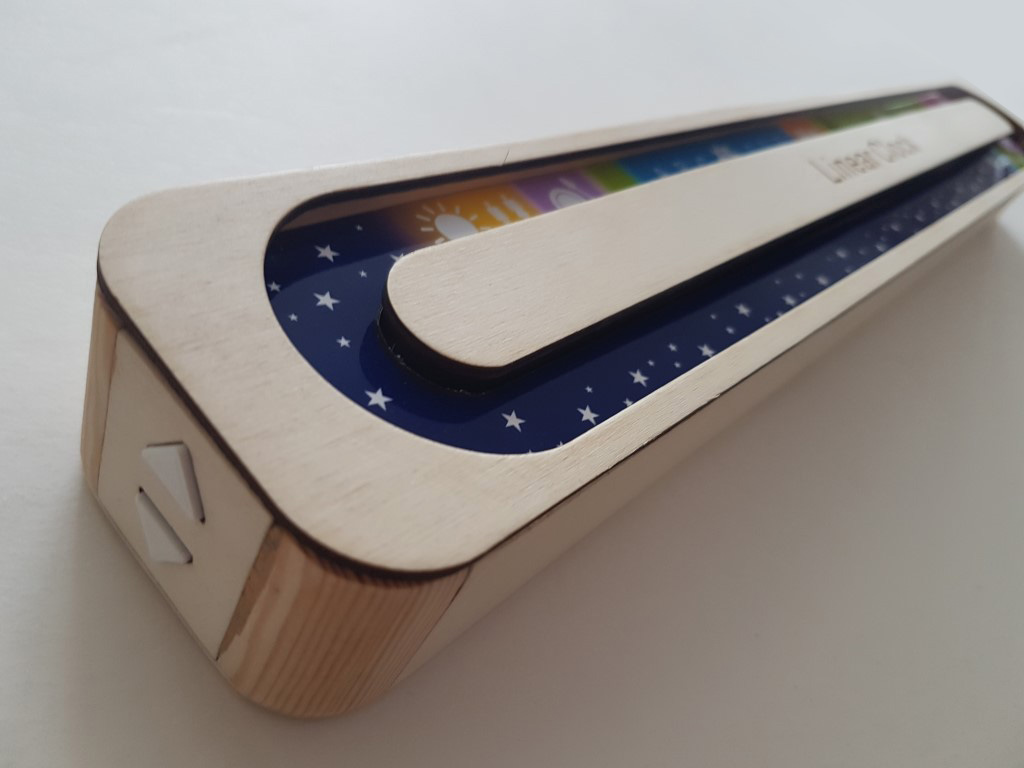
Plywood case with 3D printed buttons.
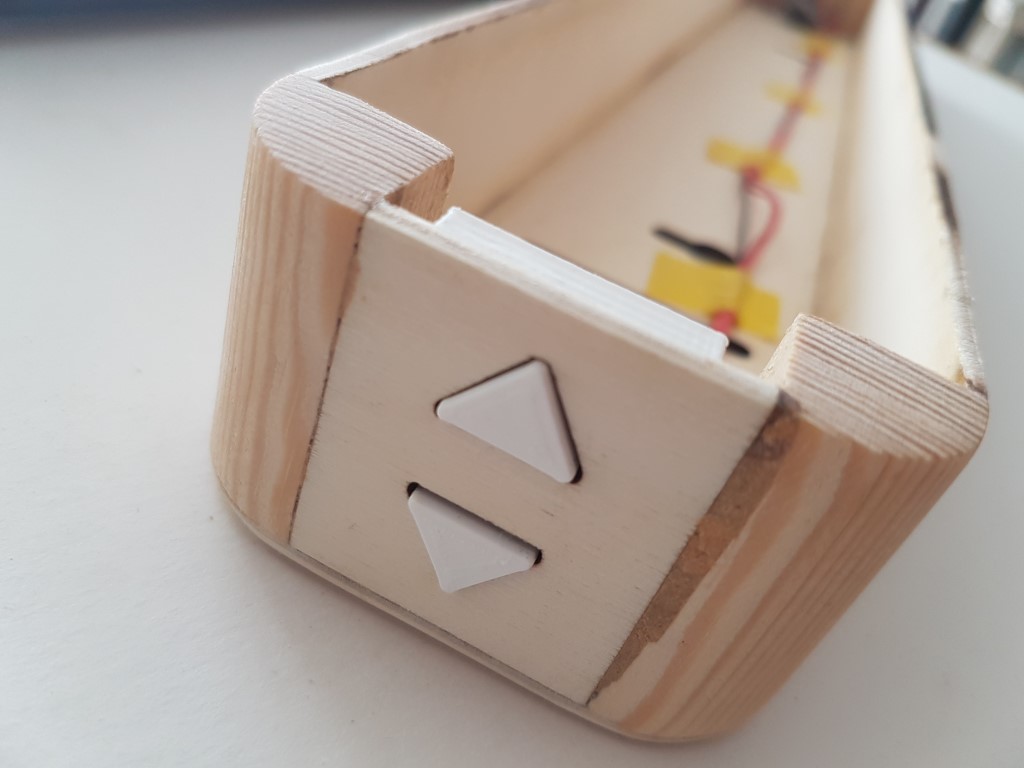
Buttons are simple tactile switches.
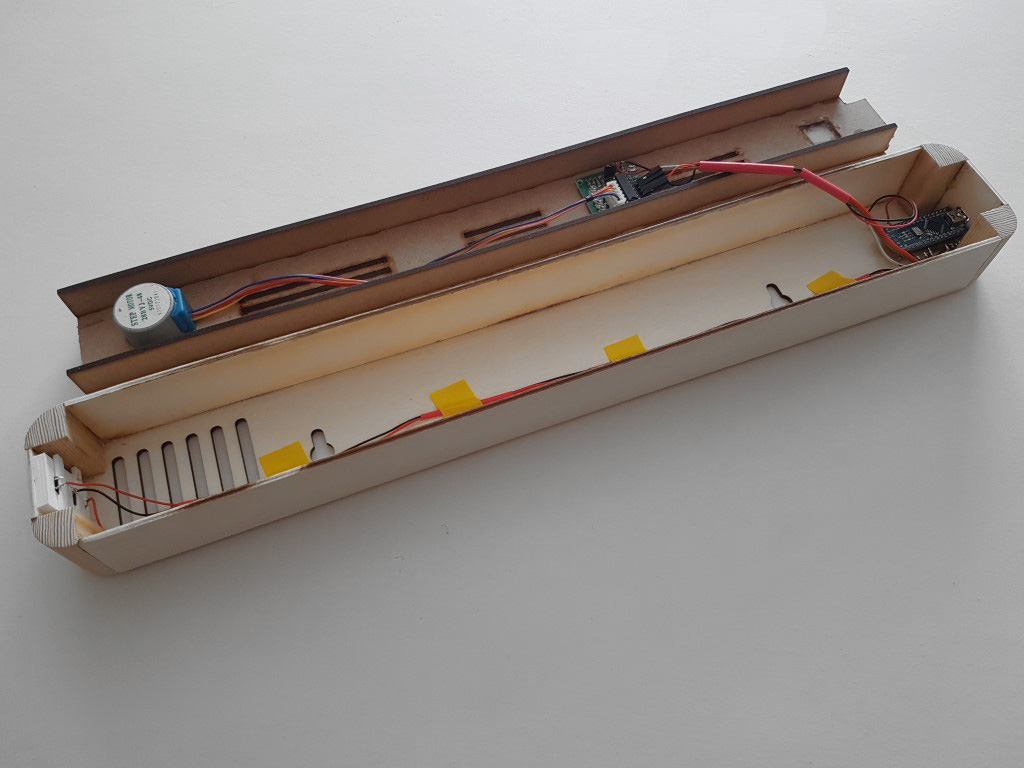
Components - Arduino, Stepper Motor, Driver board and buttons.
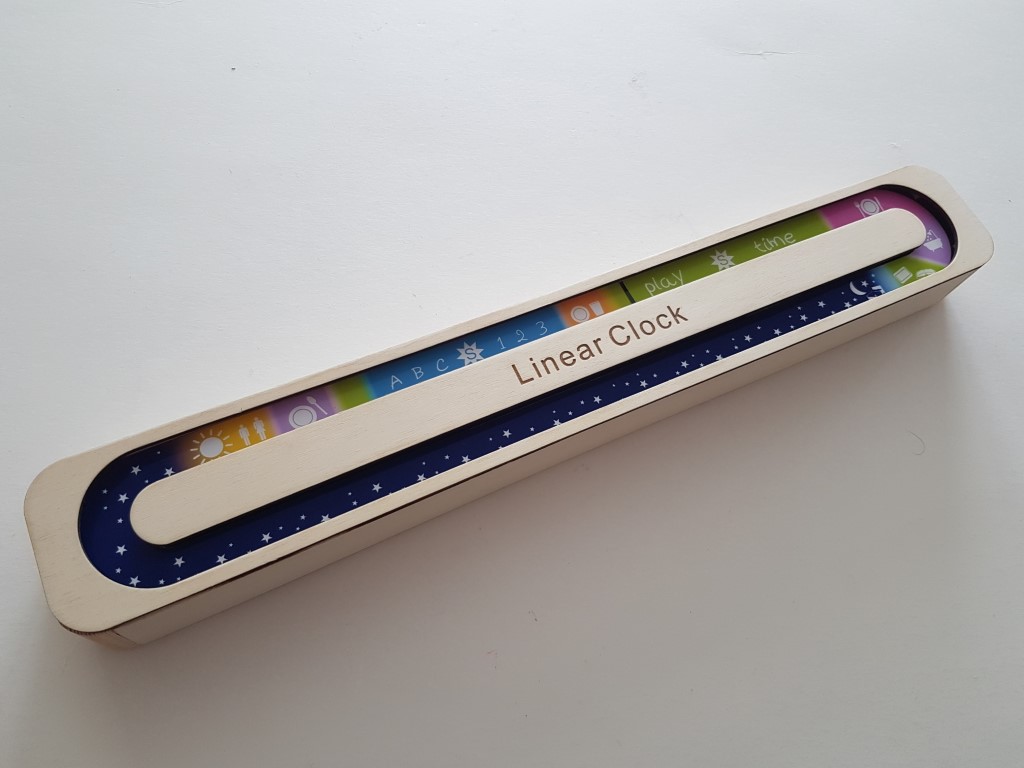
Final unit.
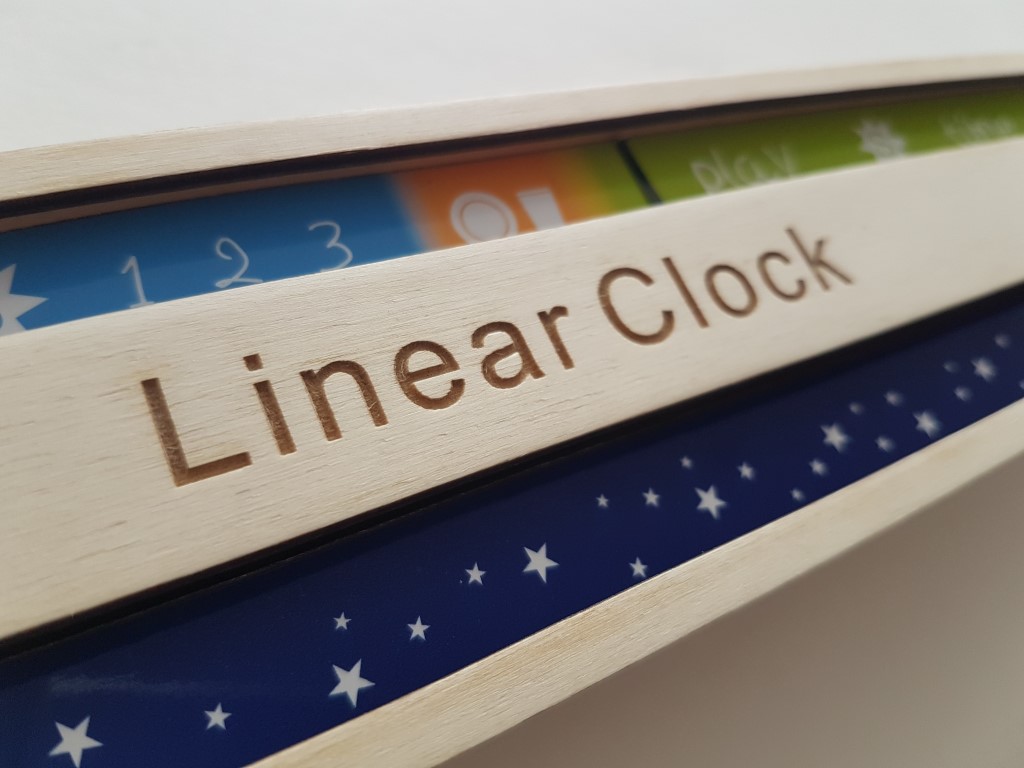
Close up of the legend.
Button detail.
Back to projects